
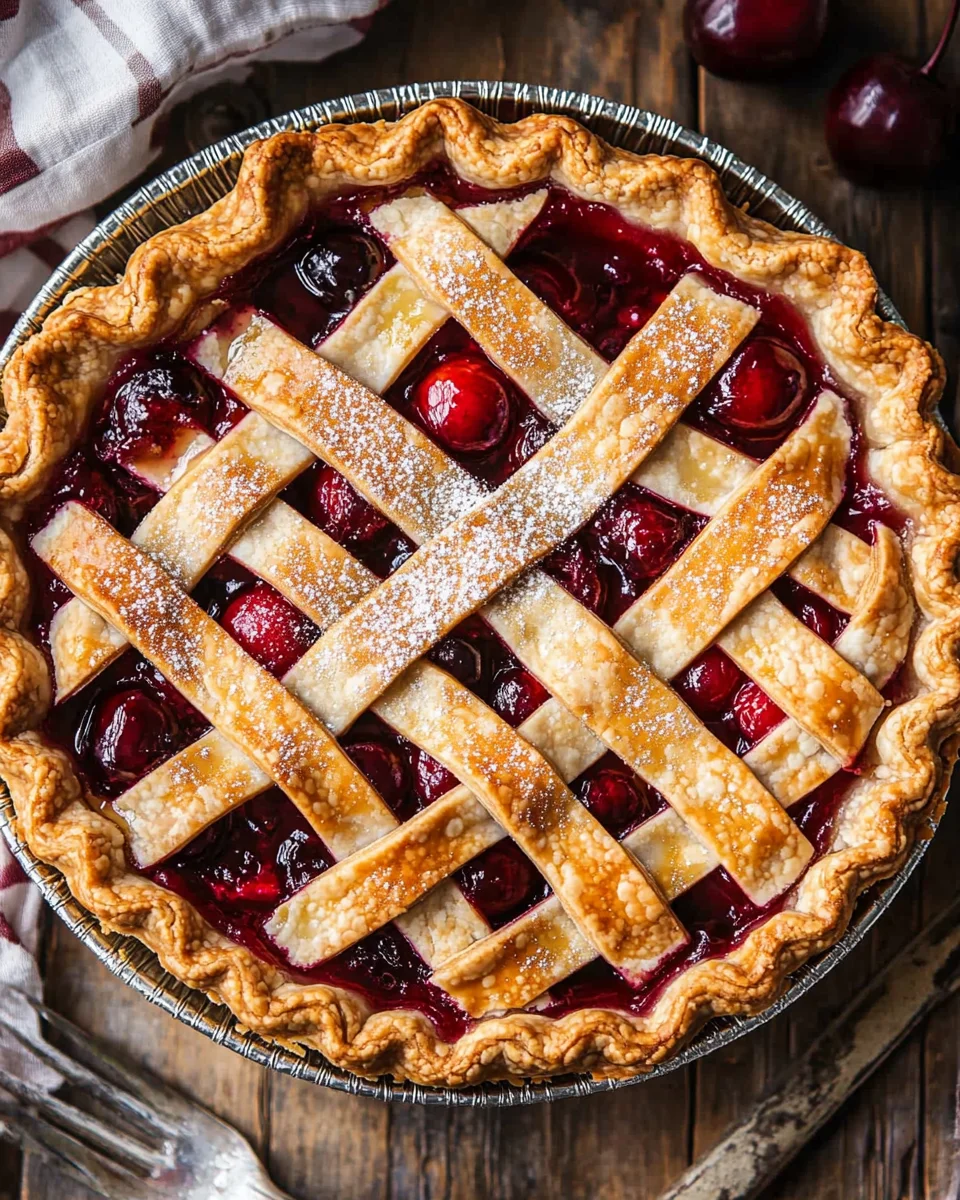
This cherry pie recipe is simply the BEST Cherry Pie you’ll ever make! With a sweet and juicy filling that can be made with fresh or frozen cherries, it’s perfect for any occasion. The flaky, buttery crust adds to the charm, while an egg wash gives it a beautiful golden brown color. Whether you’re celebrating a holiday or just want a comforting dessert, this pie will surely impress your family and friends.
Why You’ll Love This Recipe
- Irresistible Flavor: The combination of sweet cherries and buttery crust creates a delightful taste that will have everyone coming back for seconds.
- Versatile Ingredients: You can use both fresh and frozen cherries, making this recipe accessible year-round.
- Simple Preparation: With straightforward steps, even beginners can master this delicious pie without stress.
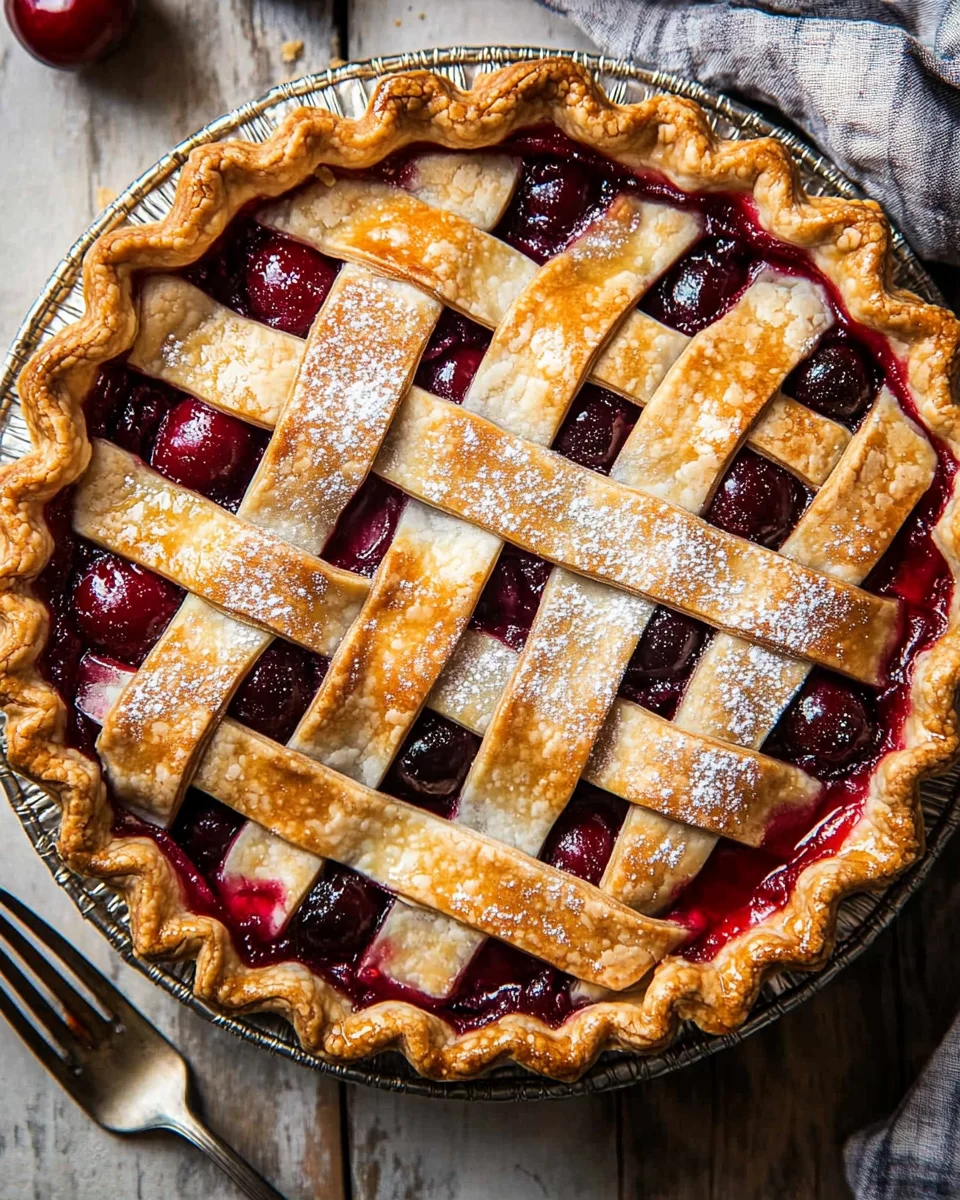
- Stunning Presentation: A beautifully baked cherry pie is not only delicious but also a feast for the eyes, perfect for gatherings or special occasions.
- Customizable Options: Feel free to adjust the sweetness or add spices like cinnamon to make it your own!
Tools and Preparation
To ensure your cherry pie turns out perfectly, gather these essential tools and equipment. Having the right utensils on hand makes preparation easier and more enjoyable.
Essential Tools and Equipment
- Food processor
- Rolling pin
- 9-inch deep dish pie dish
- Large mixing bowl
- Pastry brush
Importance of Each Tool
- Food processor: Makes mixing the pie crust ingredients quick and efficient, ensuring a flaky texture.
- Rolling pin: Essential for rolling out the dough evenly to create the perfect crust without tearing.
- Pastry brush: Helps apply the egg wash smoothly for that golden finish on your pie crust.
Ingredients
Ingredients:
– 6 cups sweet cherries (2 pounds, pitted and halved)
– ⅔ cup granulated sugar (see note)
– ⅓ cup cornstarch
– 1 tablespoon lemon juice
– 1 teaspoon vanilla extract
– ¼ teaspoon salt
– ¼ teaspoon almond extract (optional)
– 1 tablespoon unsalted butter (for dotting on the filling)
– 2 ¼ cups all-purpose flour
– 1 tablespoon granulated sugar
– ½ teaspoon salt
– 1 cup cold unsalted butter (cut into cubes)
– 7 tablespoons ice-cold water
– 1 egg
– 1 tablespoon milk
– coarse sugar or granulated sugar (for sprinkling, optional)
Grab This Chef Knife Now - Almost Gone!
How to Make The BEST Cherry Pie
Step 1: Make the Cherry Filling
- Place the pitted, halved cherries in a large bowl.
- Add the granulated sugar, cornstarch, lemon juice, vanilla extract, salt, and almond extract (if using).
- Stir to combine until you no longer see white cornstarch. Set aside while you prepare the crust to allow the cherries to release their juices.
Step 2: Make the Pie Crust
- In a food processor fitted with a steel blade, combine flour, sugar, and salt.
- Pulse to mix dry ingredients thoroughly.
- Add cold butter cubes and pulse 8 to 10 times until largest pieces resemble small peas.
- Add ice-cold water and pulse just until dough comes together; it may still be slightly crumbly.
- Transfer dough to a lightly floured surface; form into a ball.
- Cut ball in half; shape each half into a round disk. Wrap one disk in plastic wrap and refrigerate.
- Roll second disk into a 12-inch round; transfer it to a 9-inch deep dish pie dish.
Step 3: Assemble the Pie
- Stir cherry mixture once more before pouring into prepared pie crust along with all released juices.
- Cut remaining butter into small cubes; scatter over cherry filling.
- Roll out remaining dough disk into another 12-inch round for topping or lattice design.
- If using full dough round on top of pie, cut slits for steam escape; if making lattice-top crust, cut into strips and weave over filling as desired.
- Trim edges of pie crust to leave a ½-inch overhang; fold under and crimp edges as desired.
Step 4: Brush with Egg Wash & Bake
- In a small bowl, beat egg with milk; lightly brush top of pie crust with egg wash—reserve some egg wash for later if needed.
- Optionally sprinkle coarse or granulated sugar over top of pie before baking.
- Refrigerate assembled pie for about 20 minutes while preheating oven to 400°F with rack in lower third.
- Bake at 400°F for 20 minutes; reduce temperature to 350°F and continue baking for an additional 40 to 50 minutes until filling is bubbly.
- Allow cooling at room temperature for at least three hours before serving to let filling thicken properly.
Now you’re ready to enjoy the BEST Cherry Pie, perfect for any dessert table!
How to Serve The BEST Cherry Pie
Serving your cherry pie the right way can elevate its deliciousness. This pie is perfect for any occasion, whether it’s a family gathering or a casual dessert night.
A La Mode
- Serve a slice of cherry pie with a scoop of vanilla ice cream. The creamy ice cream complements the tart cherries beautifully.
Whipped Cream
- Top your pie with freshly whipped cream for added sweetness and texture. It’s a classic pairing that never disappoints.
With Coffee
- Enjoy a slice of cherry pie alongside your morning coffee or afternoon tea. The rich flavors of the pie enhance the warmth of your beverage.
Fresh Mint Garnish
- Add a sprig of fresh mint on top for a pop of color and a refreshing taste. It makes for an elegant presentation.
Cheese Pairing
- Serve with a slice of sharp cheddar cheese for an unexpected yet delightful flavor combination. The saltiness of the cheese balances the sweetness of the pie.
How to Perfect The BEST Cherry Pie
To ensure your cherry pie turns out perfectly every time, follow these helpful tips.
- Use Quality Cherries: Fresh or frozen sweet cherries will yield the best flavor. Avoid overripe or sour cherries to maintain balance.
- Pre-cook Filling: Gently cooking the cherry filling before adding it to the crust can help release some juices and improve texture.
- Don’t Overwork Dough: When making your crust, handle the dough gently to keep it flaky. Overworking can lead to tough crusts.
- Cool Before Serving: Letting your pie cool completely allows the filling to set properly, enhancing its sliceability and flavor.
- Experiment with Spices: Adding spices like cinnamon or nutmeg can deepen the flavor profile without overpowering the cherries.
- Keep an Eye on Baking: Monitor your pie as it bakes to prevent over-browning. If needed, cover edges with foil towards the end.
Best Side Dishes for The BEST Cherry Pie
Pairing side dishes with your cherry pie can create a delightful meal experience. Here are some excellent options:
- Vanilla Ice Cream: A scoop on top melts into warm pie, creating a delightful contrast in temperature.
- Coffee: A cup of brewed coffee pairs perfectly with the sweet-tartness of cherry pie, enhancing its flavors.
- Cheddar Cheese: A wedge of sharp cheddar offers savory notes that balance sweetness, creating an interesting taste combination.
- Fresh Fruit Salad: A refreshing fruit salad adds brightness and lightness that complements the richness of the pie.
- Pecan Topping: Chopped pecans sprinkled on top provide crunch and richness, enhancing each bite.
- Crumb Topping Bars: These bars serve as a playful take on dessert, echoing similar flavors while offering different textures.
- Chocolate Sauce Drizzle: A drizzle of chocolate sauce elevates each slice into an indulgent treat that brings out deeper flavors.
- Lemon Sorbet: This light dessert cleanses the palate after enjoying a rich slice of cherry pie, making it perfect for summer gatherings.
Common Mistakes to Avoid
When making The BEST Cherry Pie, it’s easy to make some common mistakes that can affect the final result. Here are some pitfalls to watch out for:
-
Ignoring cherry quality: Using overly ripe or underripe cherries can impact flavor and texture. Choose sweet, firm cherries for the best results.
-
Skipping the cornstarch: Cornstarch is essential for thickening the cherry filling. Without it, your pie may end up runny. Make sure to measure accurately.
-
Not chilling the dough: Failing to refrigerate the pie crust can lead to a tough texture. Always chill your dough before rolling it out.
-
Overbaking the pie: Baking too long can result in burnt edges and a dry filling. Keep an eye on the pie and cover with foil if needed.
-
Cutting into the pie too soon: Letting the pie cool for at least 3 hours allows the filling to set properly. Cutting too early will result in a soupy mess.
Storage & Reheating Instructions
Refrigerator Storage
- Store leftover cherry pie in an airtight container.
- It will last for up to 3 days in the refrigerator.
Freezing The BEST Cherry Pie
- Wrap the pie tightly in plastic wrap or aluminum foil.
- It can be frozen for up to 3 months. Thaw it overnight in the refrigerator before reheating.
Reheating The BEST Cherry Pie
- Oven: Preheat your oven to 350° F and bake for about 15-20 minutes until warmed through.
- Microwave: Heat individual slices on medium power for about 30 seconds, checking frequently.
- Stovetop: Place slices in a skillet over medium-low heat, cover, and warm gently until heated through.
Frequently Asked Questions
What type of cherries are best for The BEST Cherry Pie?
Sweet cherries like Bing or Rainier are ideal because they provide a rich flavor balance. Sour cherries can also be used but may require additional sugar for sweetness.
Can I use frozen cherries instead of fresh?
Yes! Frozen cherries work well in this recipe. Just make sure to thaw and drain them before using to avoid excess liquid in your filling.
How do I prevent my cherry pie from being runny?
To prevent a runny filling, ensure you use enough cornstarch and allow the pie to cool completely before slicing. This helps thicken the juices.
Can I customize The BEST Cherry Pie recipe?
Absolutely! You can add different spices like cinnamon or nutmeg, or mix in other fruits such as blueberries for a unique twist on this classic dessert.
Final Thoughts
This recipe for The BEST Cherry Pie is a delightful treat that combines sweet and juicy flavors with a flaky crust. It’s perfect for any occasion, from summer picnics to holiday gatherings. Plus, you can easily customize it with different fruits or spices! Give it a try, and enjoy the delicious results!
The BEST Cherry Pie
- Total Time: 1 hour 30 minutes
- Yield: About 8 servings 1x
Description
Indulge in the ultimate dessert experience with this classic cherry pie recipe. Bursting with sweet and juicy cherries, this pie features a flaky, buttery crust that complements the delectable filling perfectly. Ideal for any occasion—whether it’s a family gathering or a festive celebration—this cherry pie is sure to impress your guests. With simple preparation steps and versatile options for using fresh or frozen cherries, baking this delightful treat is accessible to everyone, from novice bakers to seasoned pros. Serve it warm with a scoop of vanilla ice cream or make it a little extra fancy with whipped cream and fresh mint. No matter how you enjoy it, this cherry pie promises to be the star of your dessert table!
Ingredients
- 6 cups sweet cherries (pitted and halved)
- ⅔ cup granulated sugar
- ⅓ cup cornstarch
- 1 tablespoon lemon juice
- 1 teaspoon vanilla extract
- 2 ¼ cups all-purpose flour
- 1 cup cold unsalted butter (cut into cubes)
- 1 egg (for egg wash)
- Ice-cold water
Instructions
- Prepare the cherry filling by mixing pitted cherries with sugar, cornstarch, lemon juice, vanilla extract, and salt in a large bowl. Set aside.
- In a food processor, combine flour, sugar, and salt. Add cold butter and pulse until crumbly. Gradually add ice-cold water until dough forms.
- Divide the dough and roll out one half into a round for the bottom crust; place it in a deep-dish pie dish.
- Pour the cherry mixture into the crust and dot with butter. Roll out the second half for the top crust or lattice design.
- Brush the top with an egg wash and refrigerate for 20 minutes before baking at 400°F for 20 minutes; then reduce to 350°F for another 40-50 minutes until bubbly.
- Prep Time: 30 minutes
- Cook Time: 1 hour
- Category: Dessert
- Method: Baking
- Cuisine: American
Nutrition
- Serving Size: 1 slice
- Calories: 300
- Sugar: 22g
- Sodium: 160mg
- Fat: 14g
- Saturated Fat: 9g
- Unsaturated Fat: 4g
- Trans Fat: 0g
- Carbohydrates: 41g
- Fiber: 2g
- Protein: 3g
- Cholesterol: 40mg
Amazon's Best Seller Pasta Bowls Are Almost Gone!

Leave a Comment